Clay Cutter STL File - Tulip Drop 1 - Ea: Optimizing Your Digital Fabrication Workflow
The transition from purchasing physical tools to managing a digital library of fabrication assets represents a significant shift in how modern creators approach polymer clay, cookie decorating, and fondant work. The Clay Cutter STL File - Tulip Drop 1 - Ea is not merely a shape; it is a versatile digital asset designed for precision manufacturing on desktop 3D printers. For artisans, small business owners, and hobbyists, this specific tulip drop design offers an elegant, organic silhouette suitable for earrings, pendants, barrettes, and culinary applications. However, owning the file is only the first step. The quality of your final product depends entirely on selecting the correct technical variation within the bundle and understanding the limitations of FDM printing for delicate cutting edges.
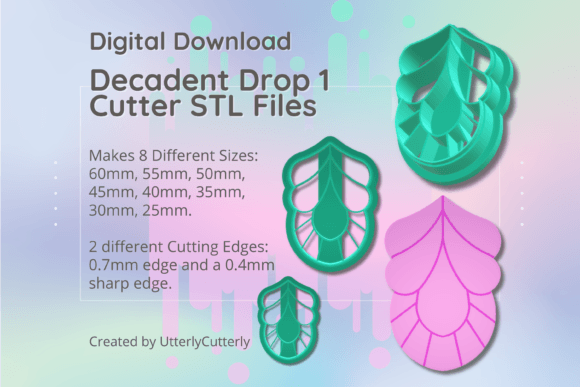
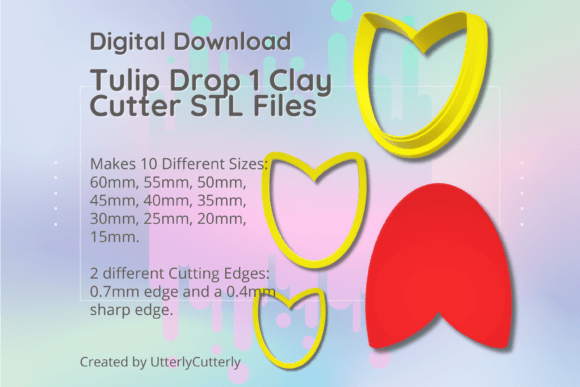
This digital download includes ten distinct sizes ranging from 15mm to 60mm and two specialized cutting edge profiles. Many users overlook these variations, defaulting to the first file they see or assuming all STL files print identically. This oversight often leads to wasted filament, broken cutters, or clay that tears rather than slices. To get professional results from the Tulip Drop 1 design, you must treat the file selection process as a critical part of your production workflow.
Selecting the Correct Edge Profile for Your Material
The most common mistake when downloading cutter bundles is ignoring the distinction between standard walls and sharp edges. This pack provides two distinct types, and choosing the wrong one for your specific medium will compromise usability.
- Standard Wall (0.7mm): This version features a 0.7mm wall thickness with a 3mm base and 12mm height. It is structurally robust and ideal for cookie dough, fondant, or thicker clays where durability matters more than razor-sharp precision.
- Sharp Edge (SE): Abbreviated as SE in the filenames, this variant uses a 1mm support wall tapering to a 0.4mm cutting edge. It shares the same 3mm base and 12mm height but is engineered specifically for polymer clay jewelry where clean, crisp edges reduce post-processing sanding time.
If you attempt to use the Standard 0.7mm cutter for detailed polymer clay earrings, you may find the edges too blunt, requiring excessive force that distorts the clay. Conversely, using the SE Sharp Edge version on stiff cookie dough can result in blade deformation because the 0.4mm tip lacks the mass to withstand high-pressure rolling. Always verify the filename suffix matches your intended material before sending the job to your slicer.
Understanding Size Measurements and Scaling Limitations
A frequent source of frustration in digital fabrication is sizing discrepancies. When evaluating the Clay Cutter STL File - Tulip Drop 1 - Ea, understand that the listed sizes (60mm, 55mm, 50mm, 45mm, 40mm, 35mm, 30mm, 25mm, 20mm, and 15mm) are measured from the longest ends of the design. This is an industry-standard measurement, but it does not account for visual weight or internal negative space.
Beginners often assume they can scale a 60mm file down to 10mm in their slicer software to save time. Avoid this practice. STL files for cutters are modeled with specific wall thicknesses relative to their size. Arbitrarily scaling a cutter below its intended minimum size can cause walls to fuse together during printing or become too fragile to function. Similarly, scaling up significantly can make walls unnecessarily thick and wasteful. Utilize the provided size range to curate custom combos rather than forcing digital manipulation that degrades print integrity.
Navigating Embossing Lines and Clay Thickness
For creators incorporating texture into their work, this design includes optional embossing lines. A critical technical detail often missed in product descriptions is the relationship between embosser height and clay depth. The embossing lines in this file are 10.5mm tall.
This means you must work with clay thicker than 1.5mm.
If your rolled clay sheet is thinner than 1.5mm, the embosser will bottom out against your work surface or cutting mat before the pattern fully transfers. This results in uneven impressions and potential damage to both your mat and the printed tool. Before committing to a textured piece, measure your clay slab with calipers. If you prefer working with thin sheets (under 1.5mm), utilize the non-embossing outline versions included in the bundle instead of forcing a tool that requires greater depth.
Print Orientation and Bed Adhesion Strategies
Even with the correct file selected, poor print orientation can render a Tulip Drop cutter useless. Never print cutters flat on the build plate. Printing horizontally creates layer lines along the cutting edge, resulting in a serrated blade that tears clay and traps debris.
Always orient the STL file vertically so the cutting edge faces upward. This ensures the nozzle traces the perimeter continuously, creating a smooth, functional blade. Because vertical printing reduces the footprint on the build plate, adhesion becomes a primary failure point. Use a brim rather than a raft. Rafts are difficult to remove from delicate 12mm tall cutters and often leave a rough base that prevents the tool from sitting flush against your work surface. A 4-6 line brim provides sufficient stability without compromising the cutter’s flatness.
Material Considerations for Food Safety and Durability
While PLA is the standard for clay cutters, those using the Clay Cutter STL File - Tulip Drop 1 - Ea for cookies or fondant must consider food safety protocols. 3D printed parts have microscopic layer gaps that can harbor bacteria. If producing edible items, seal your printed cutters with a food-safe epoxy resin or designate them strictly for single-use/commercial preparation where sanitation standards allow. For polymer clay artists, standard PLA or PETG is sufficient, though PETG offers better flexibility for the Sharp Edge variants, reducing the risk of snapping if the cutter is twisted during demolding.
Managing Digital Assets for Long-Term Efficiency
Treating digital files as disposable downloads leads to disorganized workflows and repurchasing lost assets. Upon downloading this bundle, immediately organize the files by size and type. Create a folder structure such as Tulip Drop 1 > Sharp Edge and Tulip Drop 1 > Standard. Rename files to include key specs (e.g., "TulipDrop_SE_40mm.stl") so you can identify the correct tool without opening each file individually.
Remember that this is a digital product, not a physical shipment. You have immediate access to iterate and test. Print one size in both edge profiles to establish a baseline for your specific printer’s tolerances before batch-producing an entire set. This small investment in testing prevents large-scale failures and ensures the Tulip Drop design performs exactly as intended for your unique creative application. By respecting the technical specifications and avoiding common assumptions about digital fabrication, you transform a simple STL file into a reliable, professional-grade production tool.